Node Configuration
Primary settings
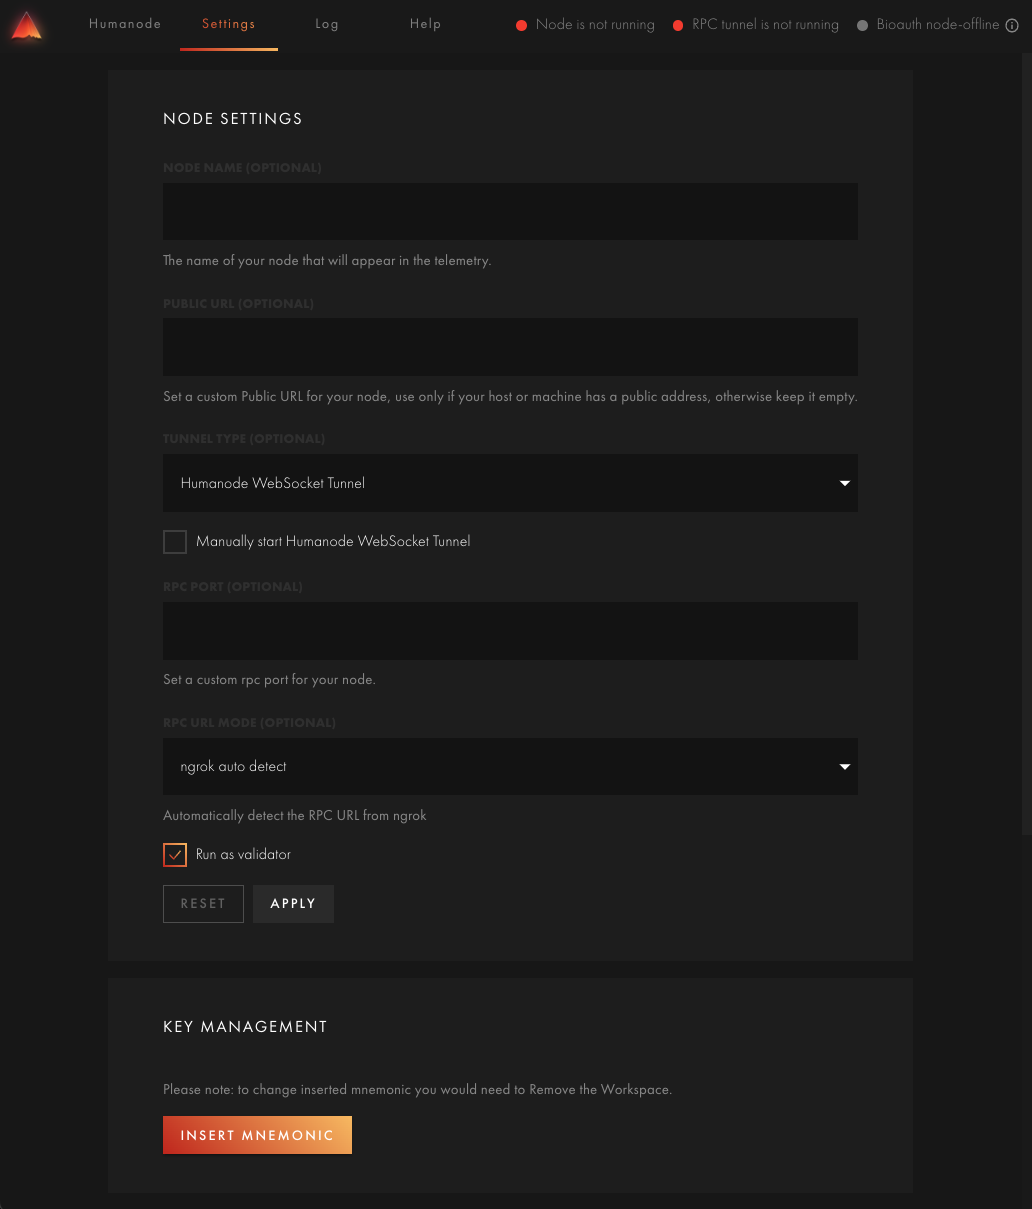
Section titled “Primary settings”In the settings tab you can configure your workspace.
To become a validator, the only setting you need is the mnemonic key inserted in the KEY MANAGEMENT section.
Key Management
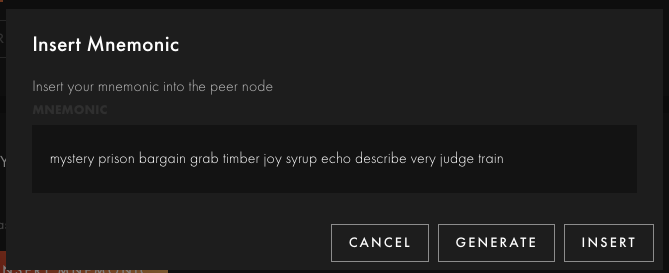
Section titled “Key Management”To insert the mnemonic key into your node start by pressing the Insert mnemonic button. You will be prompted with the following dialog where you can directly insert your mnemonic or generate it:
Generating a mnemonic
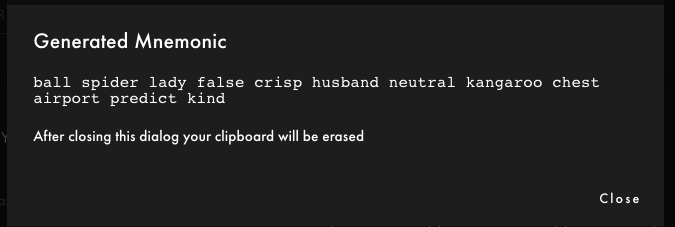
Section titled “Generating a mnemonic”To generate a mnemonic, press the GENERATE button. A new dialog will pop up showing you the mnemonic.
Copy the mnemonic and save it somewhere safe. Once closing this dialog your clipboard will be erased. This is intentionally made so that you save your mnemonic somewhere.
Inserting the mnemonic
Section titled “Inserting the mnemonic”Once you have saved your mnemonic somewhere safe, type in or paste it into the MNEMONIC text box and then you can proceed to insert the mnemonic key into your node by pressing the INSERT button:
Removing the mnemonic
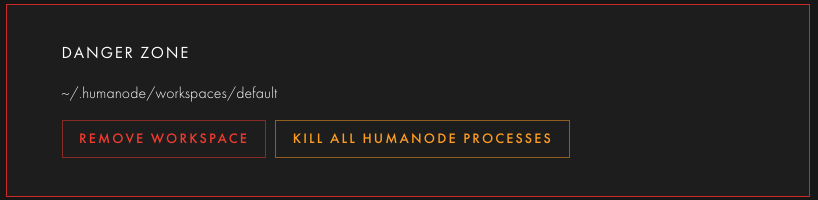
Section titled “Removing the mnemonic”Once a mnemonic is inserted in the workspace, it cannot be modified. If you want to change it, you must remove the workspace and reconfigure it from scratch.
Additional settings
Section titled “Additional settings”Node name
Section titled “Node name”You can additionally add a name to your node that will be publicly shared with the blockchain.
Public URL
Section titled “Public URL”If you have a public URL associated with your machine, you can use that by setting the Public URL field.
Tunnel type
Section titled “Tunnel type”When you connect to your node through the QR code described later, you are actually accessing it through a tunnel which allows your phone to properly establish a connection with your node through the networks. There are two types of tunnels available in the Humanode app:
- Humanode WebSocket Tunnel: a tunnel provider built by the humanode team. This type of tunnel does not require any additional configuration.
- ngrok: a tunnel provider available at https://ngrok.com. This type of tunnel requires additional configuration listed below.
ngrok settings
Section titled “ngrok settings”ngrok is a free service that allows us to create a tunnel between your node and your mobile phone that you will use when scanning a QR code.
You need to create an ngrok account at ngrok.com and insert your authorization key to allow the Desktop App to create ngrok tunnels for you.
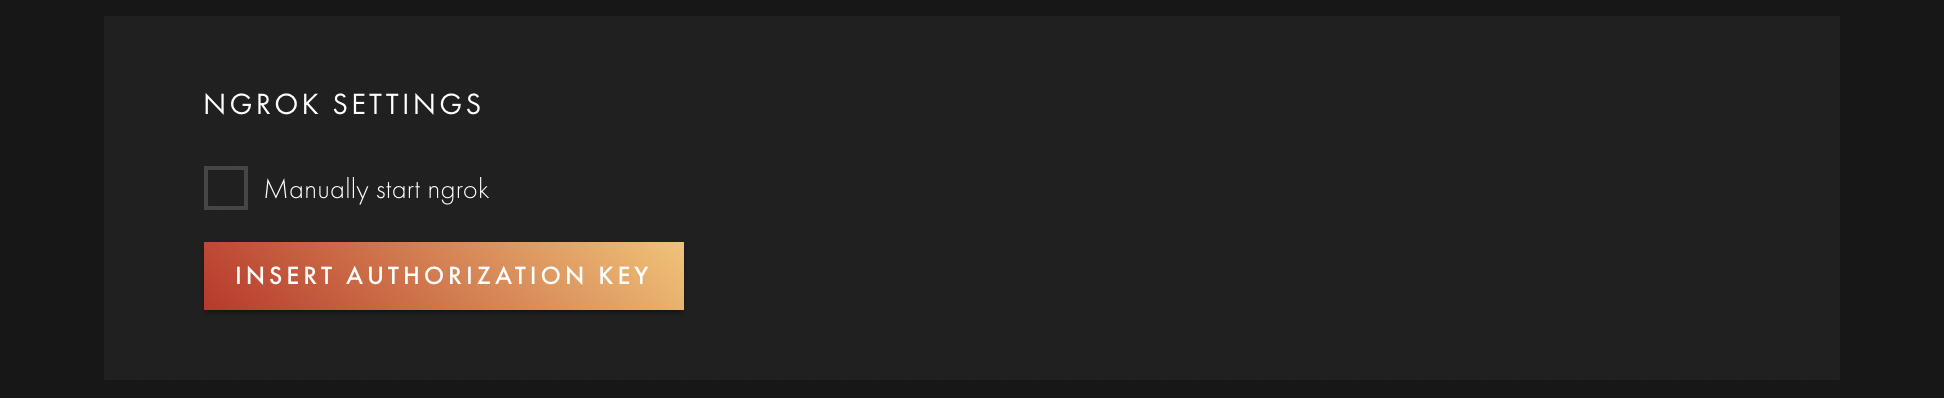
To insert an ngrok auth key, press Insert Authorization Key. That will open a modal window with an input field.
Copy and paste your auth key that can be found here.
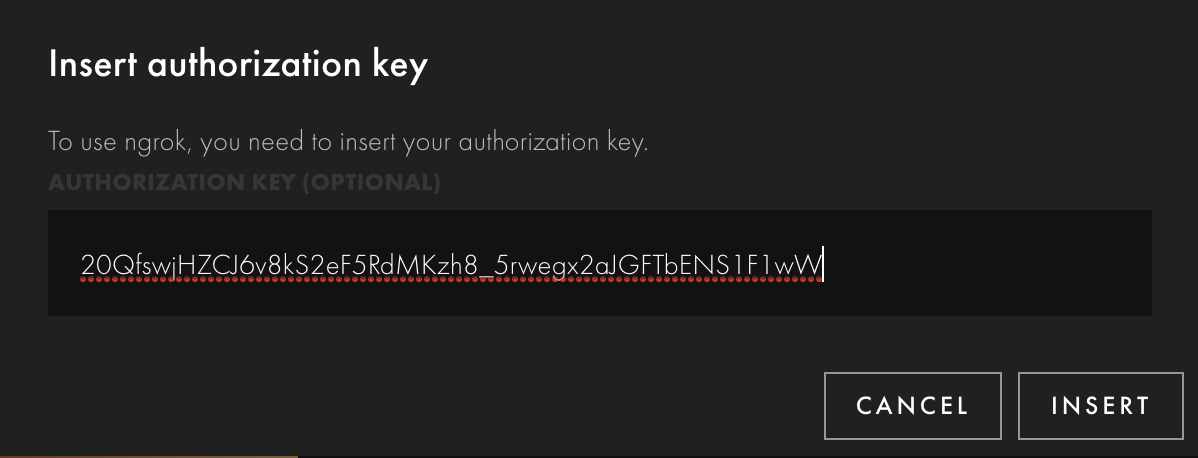
Press Insert to save this key. The state of the section will not be changed since we can’t detect if the key was inserted or not. However, rest assured that the key is there.
If you want to start ngrok from your terminal, put a tick in Manually start ngrok.
Updates
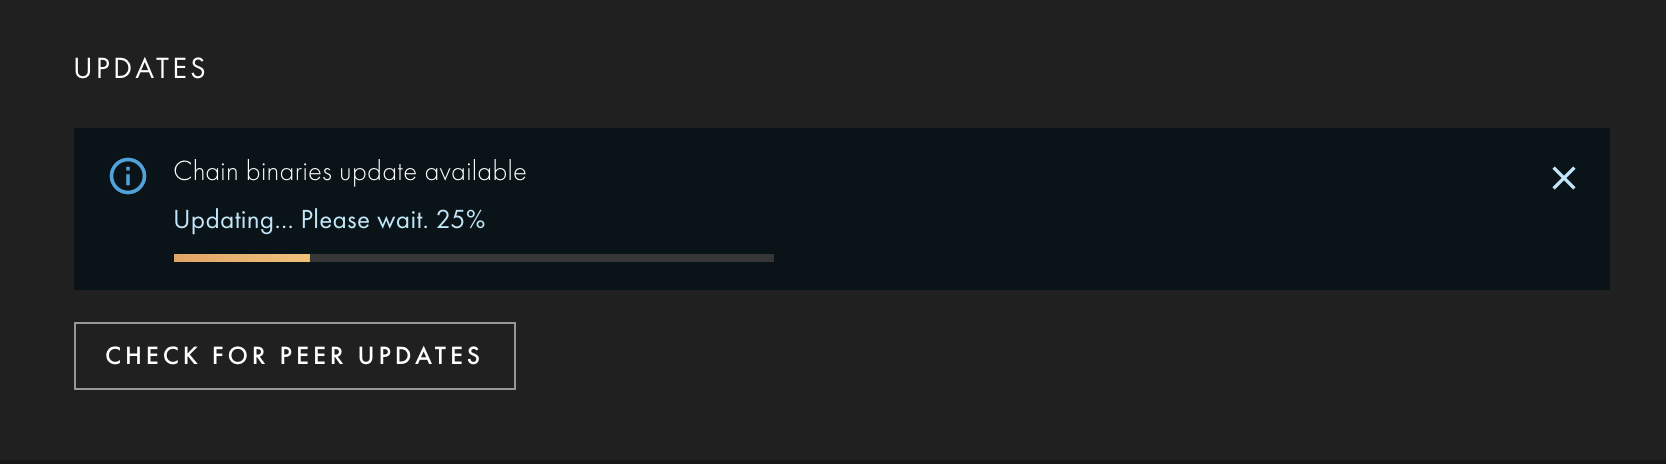
Section titled “Updates”Updates section stands for checking the available peer updates. Most likely, if you just downloaded the app, you have the latest version, but in the future, make sure you regularly check for updates.

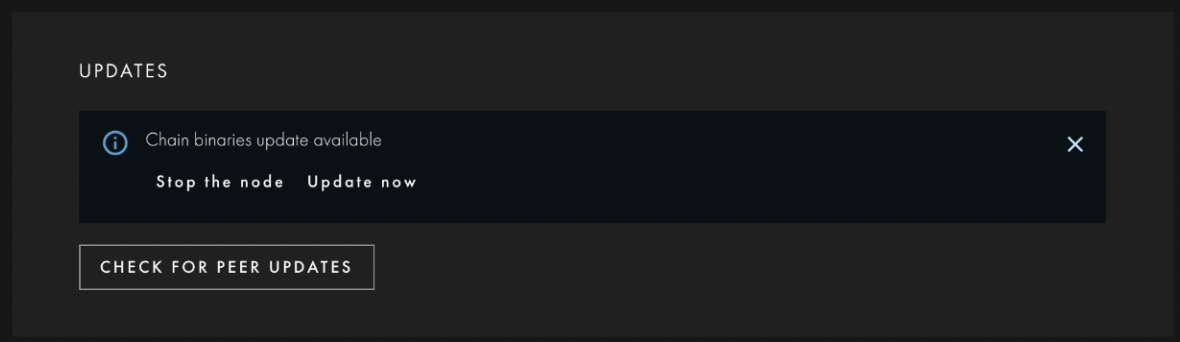
You’ll see the next message if there is an available update. Please stop the node before you start.
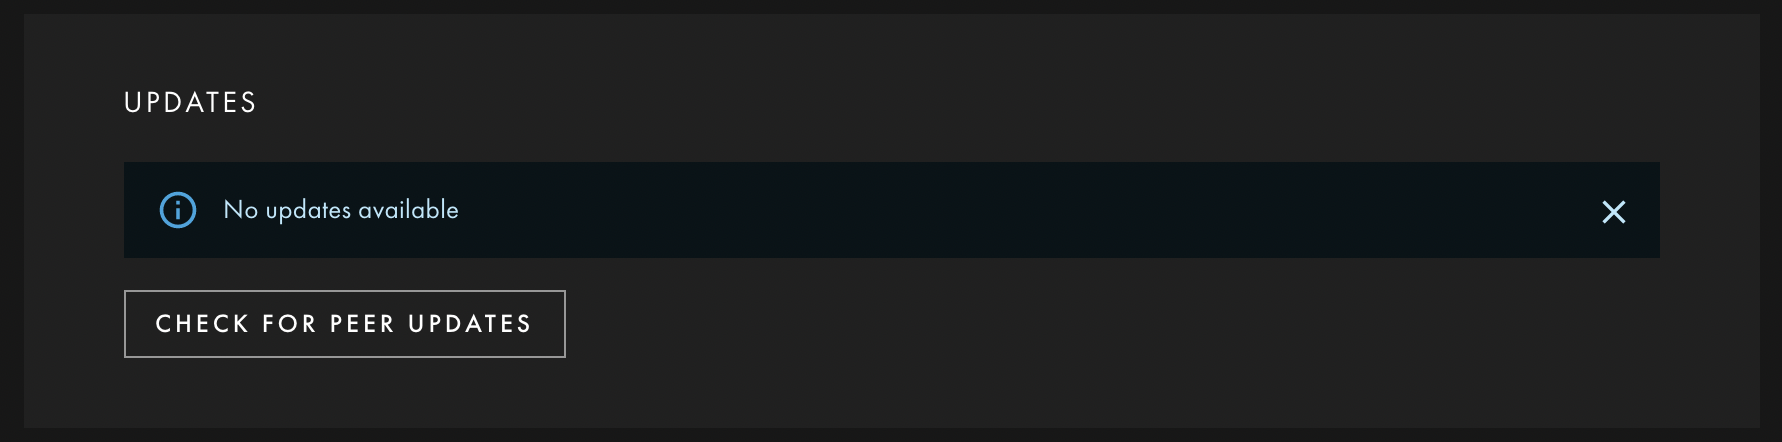
Or no updates available:
You can start the node again when the updating process is finished:
Danger Zone
Section titled “Danger Zone”