Remote
Start Remotely
Section titled “Start Remotely”This option allows running the node on a remote system via an SSH connection.
You can use any remote system.
We recommend running on a cloud server, and it is preferable to using a local system, since you won’t have issues with port forwarding, and the cloud system can run all the time, whereas you’ll probably shut down your local system once in a while.
The downside of running in the cloud is, obviously, that the cloud VMs cost money.
This guide will walk you through the following steps:
- Creating a Virtual Machine in a cloud with a cloud provider you prefer, and
- Connecting Humanode Launcher to Virtual Machine.
If you already have a VM, then skip the Creating a Virtual Machine in the cloud section and go straight to the Connecting Humanode Launcher to Virtual Machine.
Creating a Virtual Machine in the cloud
Section titled “Creating a Virtual Machine in the cloud”To create a Virtual Machine in the cloud, follow the guide of your favorite cloud provider.
We propose using Scaleway or DigitalOcean, as they are among the easiest to set up, and also they offer a very good deal.
You can also use Amazon AWS, Google GCP, Azure, or any other cloud.
When prompted which OS to install, choose Ubuntu 20.04.
We highly recommend using SSH keys for authenticating on the VM, and Desktop App will detect and try to use the keys automatically if it detects any on your system.
Connecting Humanode Launcher to Virtual Machine
Section titled “Connecting Humanode Launcher to Virtual Machine”After you’ve created a VM, you can press Start Remotely.
On this page, you’ll see input fields for entering the parameters of your remote VM.
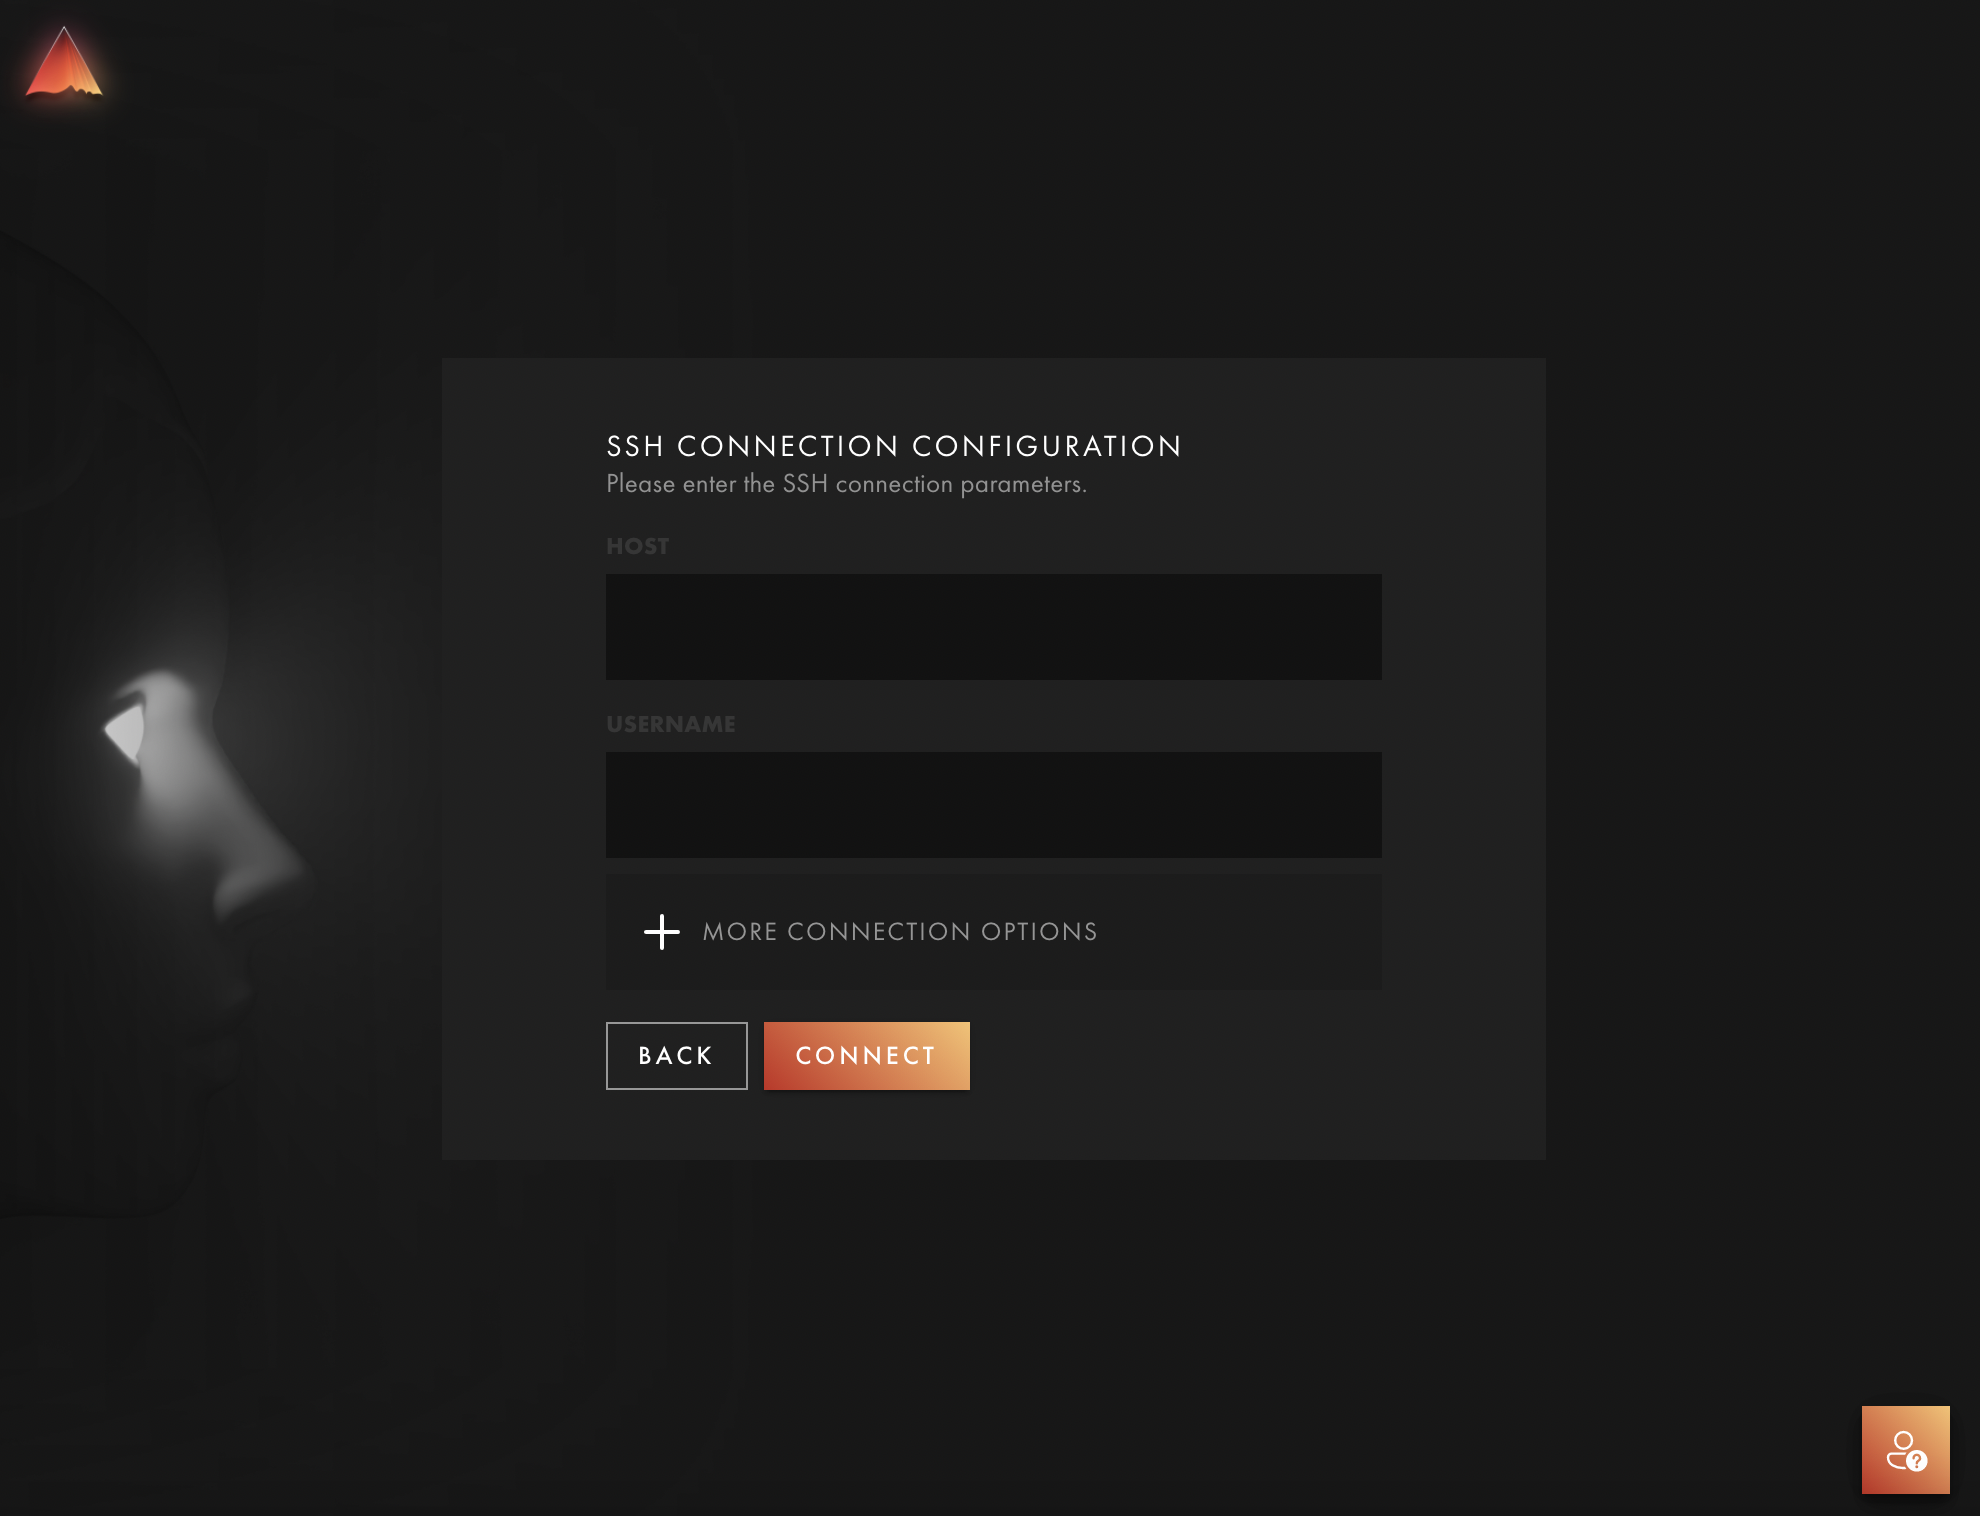
The standard SSH connections parameters that are given to you by the cloud provider usually look like this:
ssh user@hostwhere
useris the username (typicallyubuntufor our case), andhostis the IP address or domain name to connect to.
Use those parameters to fill in your host and username.
For instance with a connection string ssh ubuntu@51.15.107.249, the inputs should look as follows:
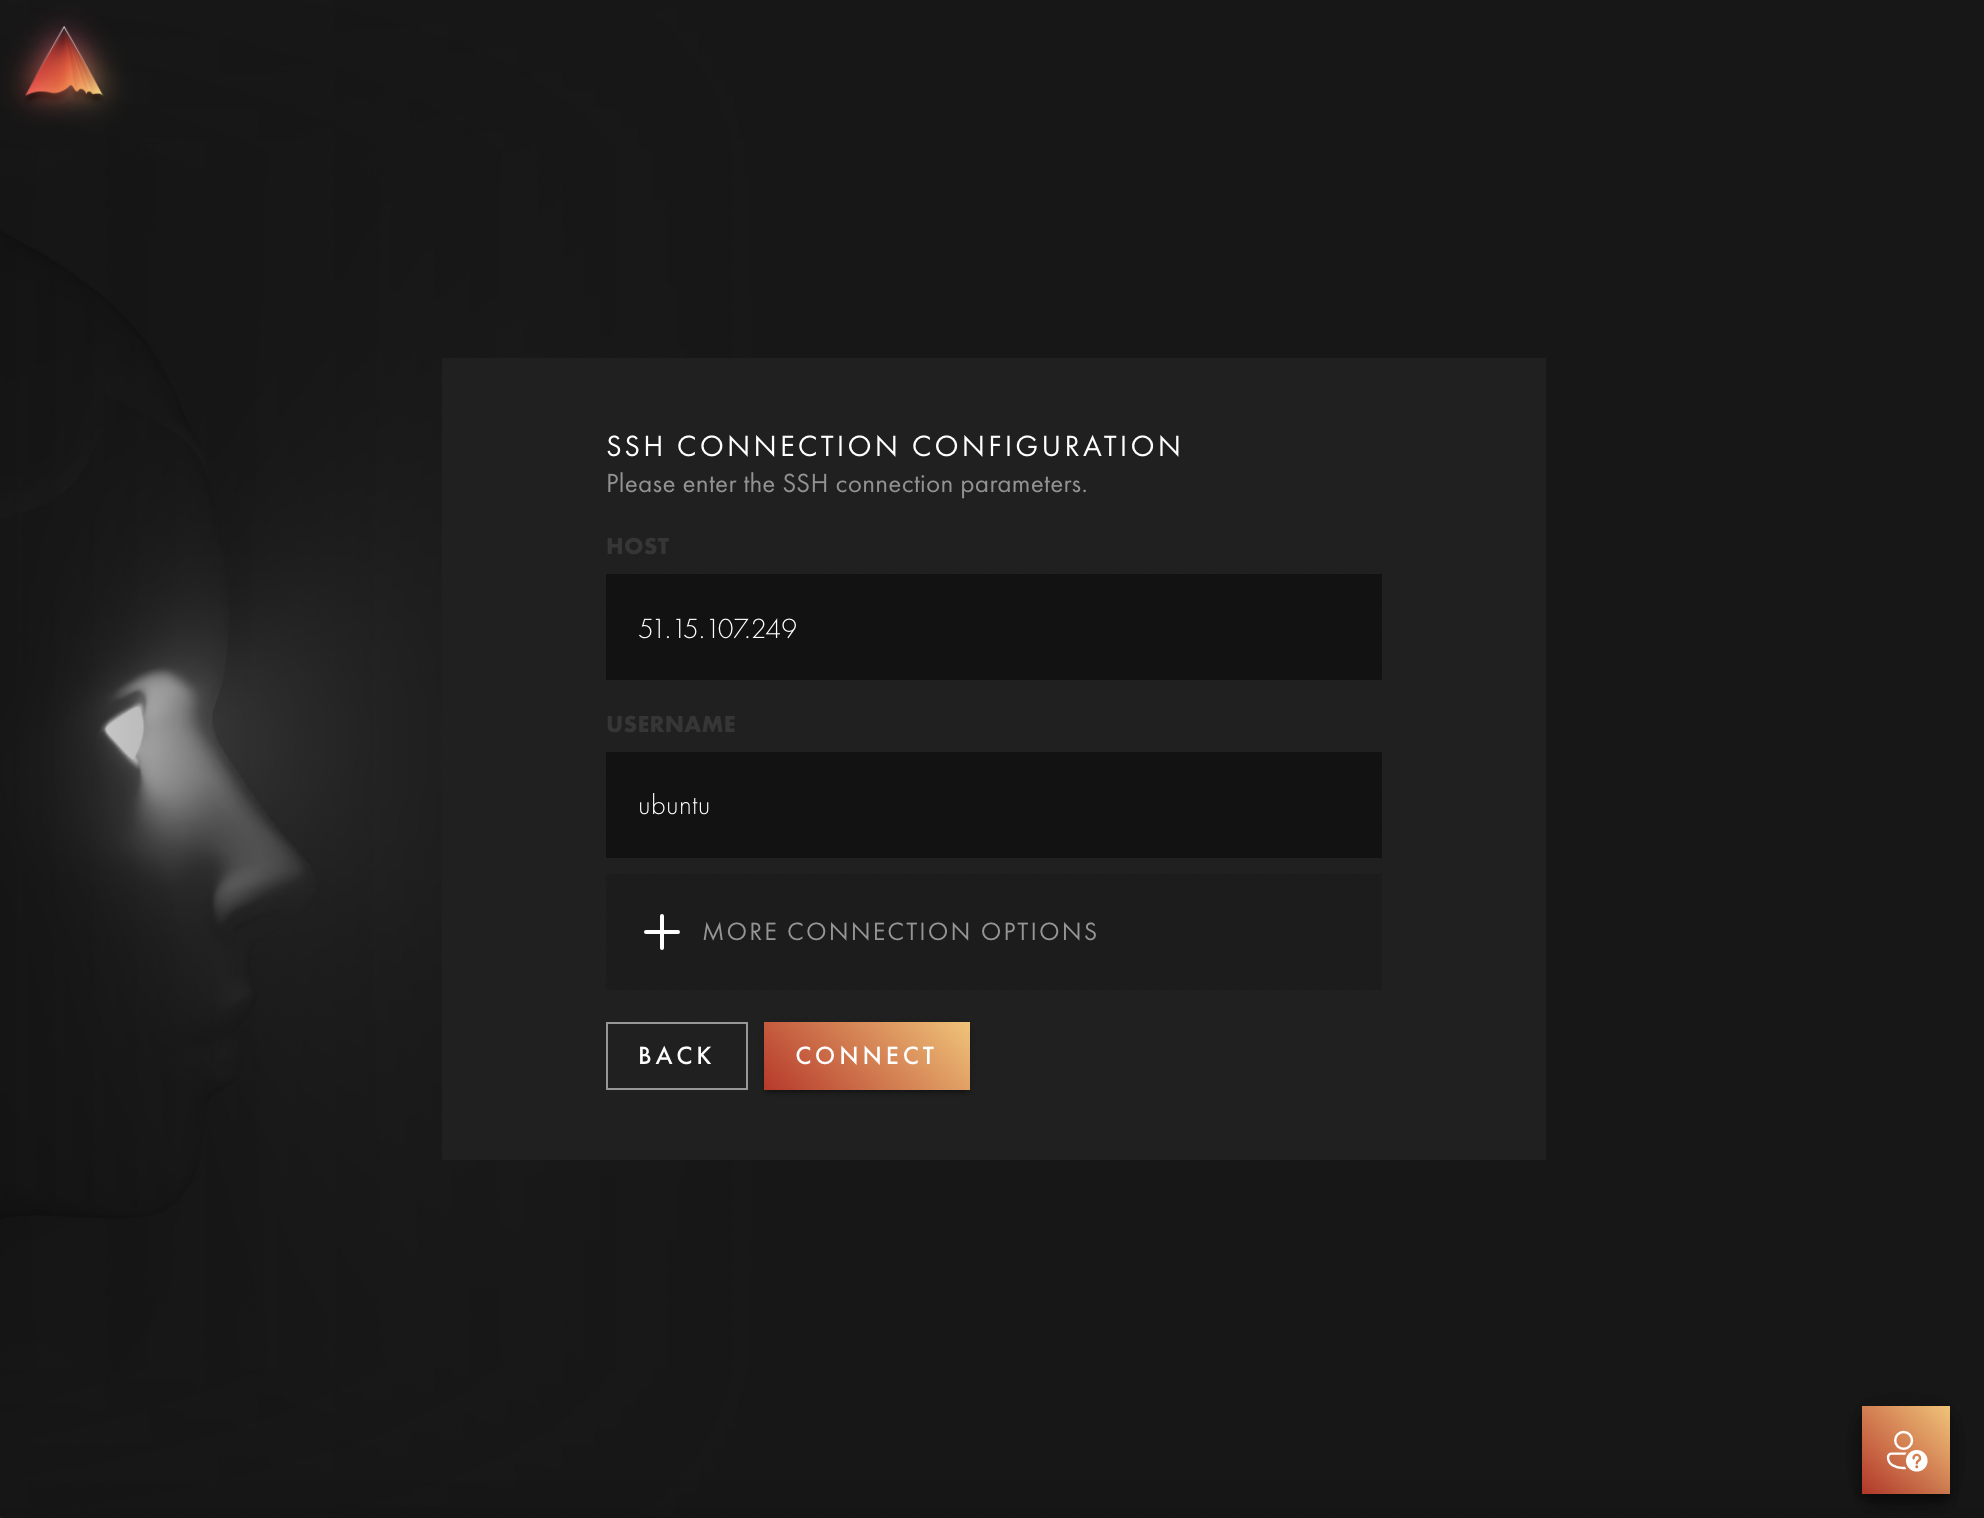
After you press Connect the app will establish the connection to your VM.
After the connection is established, the Mainnet installation process will begin.
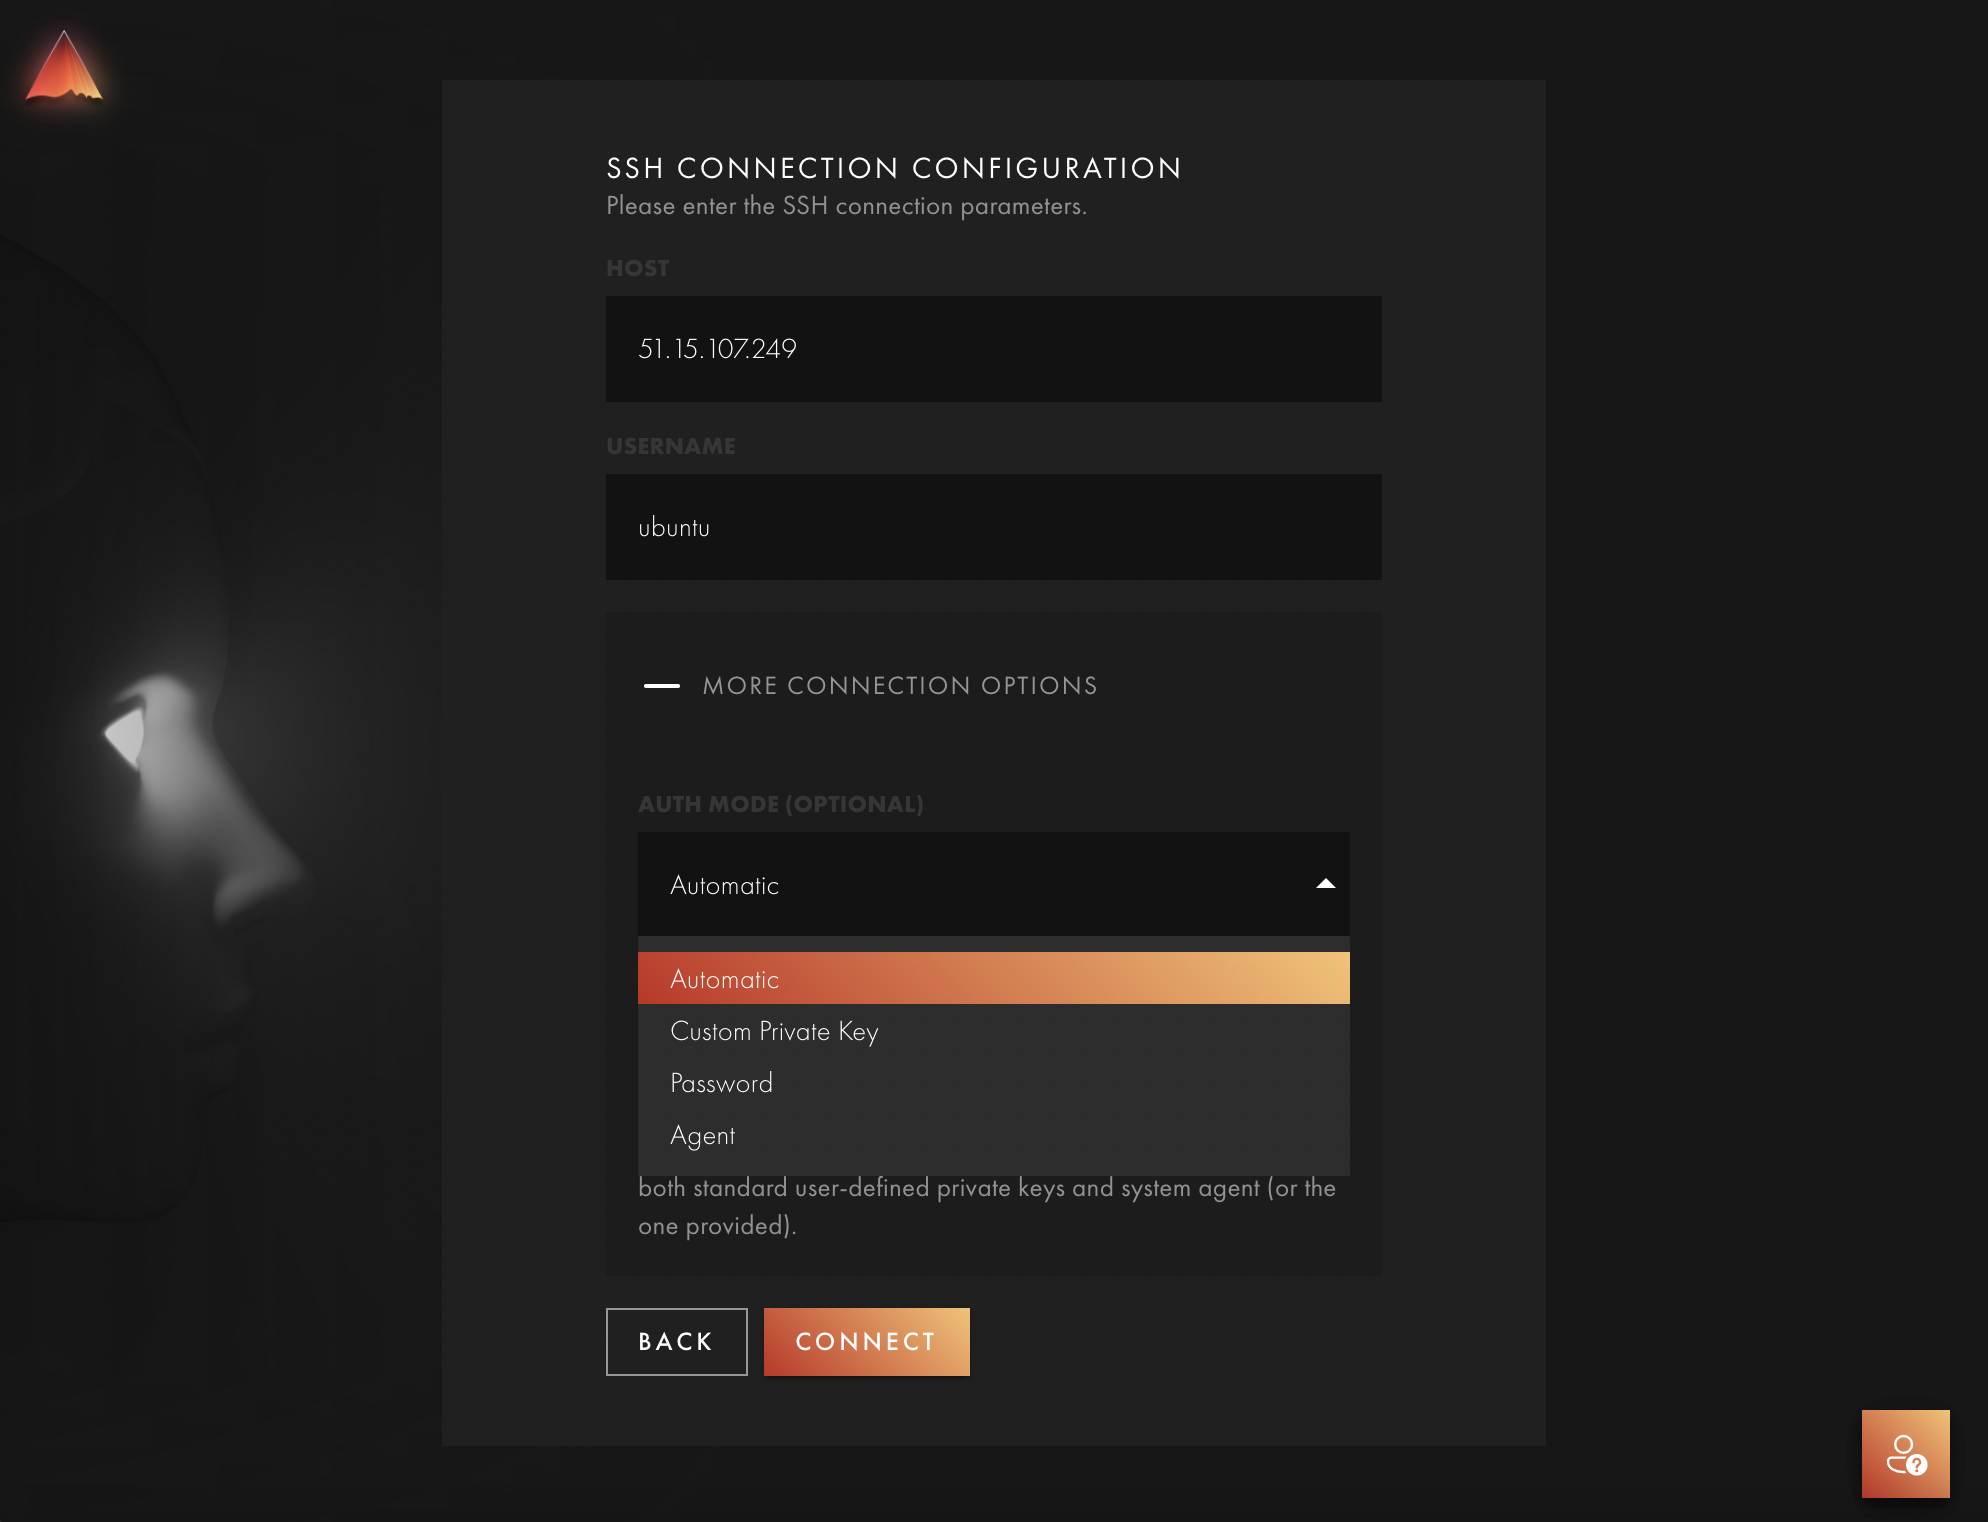
If the automatic authentication flow does not work for you, there are other authentication options available. They can be found by pressing More connection options and selecting Auth Mode: